Welcome!

Welcome to my blog, we're talking about quilting and other good stuff. I'm glad you stopped by ... look around, add a comment, become a follower if you feel inclined, tell your friends about me, and come back soon!


Showing posts with label strips. Show all posts

Friday, October 20, 2017

Those little side trips

Three things to be happy about:
(1) flavored water
(2) a morning walk
(3) trying a new pattern

As I've been going through my fabric inventory I keep wanting to organize (once again!) my strip bins.  The worst, most tangled one is my 1-1/2" strips, how do they keep getting tangled??

Meanwhile I ran across an old McCall's (December 2006) with a pattern that appealed to me, double nine patches in a square-in-a-square setting.  Each little nine patch has dark fabric in the corner and middle positions.

The instructions say *gasp*
"...from assorted prints cut a total of 1,250 squares 1-1/2" x 1-1/2" ... stitch 9 assorted 1-1/2" squares together to make a nine patch"  
Say whaaaaat?


Well, I have a better idea!

This is where those tangled 1-1/2" strips come in.

Sew much ugly fabric in that strip bin!

I stitched light and dark strips into pairs...


Strip pairs became light/dark/light and dark/light/dark trios.

Then I cross cut the trios into 1-1/2" threesies...


Sewing those threesies together to make the nine patches will eliminate a lot of piecing time.

And, it will use up just a few of the tangled strips in my 1-1/2" strip bin!

Sew much easier, yes?


Well, today's the day I've been waiting for since last October - the annual Milltown Quilters shopping trip to Lancaster, PA!  Since the weather is supposed to be nice with no rain in the forecast,  I know our good time will be even better!

That's it for now, sew forth and sew on til later

Monday, August 31, 2015

Woe was me, bits and pieces

Three things to be happy about:
(1) kids going back to school - yes!
(2) mood rings
(3) letting concerns roll off your back

Woes come and woes go, but this woe kept coming for no rhyme or reason!

My PC was just rebooting without warning, then it wouldn't boot at all - woe!

I unhooked it (no small feat because I have to pull my heavy desk out from the wall to get at the back) and took it to the Geek Squad.  He plugged it in and it worked like a charm, don't you just hate that?

I admit, there was a lot of dust covering the vents that I wiped off, maybe that was the problem??

Meanwhile, I've been using those 3-1/2" squares I cut to make little sets for my x and plus blocks.

I was spending a lot of time trying to get just the right pieces together, and I think that might be why I was spending "a lot of time" to get the sets put together!

So then I had a bright idea!  I found Pinterest and flickr posts from others making this quilt ... it "freed" me!


From looking at those other blocks, I realized all over again that whatever I put together will look great!

So now I'm just pulling strips and cross-cutting them into 2" squares and 2 x 5" rectangles without a lot of heavy thinking.


They'll all look good in the final quilt!

Did I have this conversation with myself before??

Enjoy your Monday, sew forth and sew on til later...

Saturday, August 22, 2015

Cutting mostly done

Three things to be happy about:
(1) big red balloons
(2) orange popsicles
(3) strappy sandles
I've done a lot more cutting to clear off my cutting table, and I cut the fabric whether it was Alexander Henry or not!

This 1-3/4 yard piece is hot from JoAnn's that was on their remnant table at $4 a yard!  Had to get it, you know what I mean?

I sliced a 7-inch piece and cut some neutral strips!


Here's a piece that used to make me s-s-stutter!

I've had this for so long, I mean SO LONG, and couldn't think of a project to use it in ... and I didn't want to cut it ... then a few days ago I looked at the fabric and realized I didn't like those flowers anyway!

I'm not a sweet and flowery fabric kinda gal; however, I did fussy cut this piece to get 3-1/2" squares for my x and plus project.  There's more of it left, it'll come out of the box and go under the 2" blade next time I cut!


Wanna see what that messy corner of my table looks like now?

Ta-daaa - big difference!

Just dribs and drubs that I need to neaten off out of the way.


These are some of the scraps I created during the cutting process...

More scraps!!


... and some of the many strips I cut, all a-tangle...


All I managed to sort so far - just the tip of the iceberg!

There's a lot to be said for sorting fabric strips as you cut them:

(1) you save time at the end...

(2) they don't get all tangled up...

(3) you avoid fuzzy edges...

(4) it's more efficient...

(5) they're ready to use in case you want some before you finish cutting...

(6) sew forth and sew on...


Friday, April 17, 2015

Adventures in fabric cutting

Three things to be happy about:
(1) Spring springing
(2) self-discipline
(3) figuring it out

I was looking at Bonnie's latest quilt cam and it made me want to dive back into those lozenge leader-enders that I started some time ago!  But first, I wanted to change the blade in my cutter.

Has this ever happened to you?  I had disassembled the cutter when something on the news caught my attention, so I put down the handle and turned around to look at the TV.  When I turned back and put it together... oops!!

uhmm... something's not quite right!
not this either!

Here we go, this is the right way!

Fortunately I remembered that some of my pictures have the cutter in them, so I went back to my camera and found what I needed - whew!


Now for the lozenges...

I started by cutting a bunch of 3-1/2 x 6-1/2 pieces for the main part, using whatever came to my hand.

I have very very few 3-1/2" strips, so I was working mainly from scraps and uglies for these.


Here's a fun piece!

Some time ago I was in an online food post card swap; this was left over from a Kellogg's corn flake post card.

Bonnie would say "toss it in there!" - so I did!


I followed her advice and pinned the pieces into sets of 10, this sure makes it easy to see at a glance how many you have.

100 pieces - just the tip of the iceberg, but it's a start!


Then I pulled all the precut blacks and neutrals from my 2" strip bin... I need more, I think!


A few 2" squares.

I'll cut more and take these to guild meeting tomorrow, it's a no-brainer to draw the diagonal lines during the meeting.

If I have plenty of these at the sewing machine and ready to sew, I'm more apt to actually DO them - I'm on my way!

That's it for now, it's a gorgeous day out there, get out and enjoy it!  Sew forth and sew on til later!


Wednesday, September 10, 2014

More stringy-star progress

Three things to be happy about:
(1) fruit dumplings
(2) udderly sMOOth cream (non-greasy; better than bag balm in the green container)
(3) Trident sugar-free gum

My procedure went well yesterday, thanks everyone for your well wishes and good thoughts!

I had to laugh at myself, though.  Safeway has this 13 oz. chicken broth on special for 88 cents and I got three of them.  After I drank one at breakfast (tasty, by the way!) I thought I'd better get some more in case I didn't have enough "stuff" in the house to last all day - so I went back and got 7 more!

Throughout the day I only drank one more, so now I have 8 (EIGHT!!) containers left over!  Oh well, I have until October 2015 to use em...

Does that remind you of how you sometimes buy fabric, then buy some more??  Reminds me of someone "who shall be nameless" who thought she didn't have enough fabric for the September hop and went into overdrive, LOL.  Okay, okay I'll whisper her name: The Slow Quilter.


While waiting for the fun to start on Monday I was still piecing string blocks...
That's a lotta blocks!

I've already done three stars and I have enough in that pile to make three more but not enough of the right combinations...

I'm doing a 3x3 layout, which will give me a 72x72 center, then I'll add borders to size er up.  Yep ladies - there will be some RED somewhere in that border!  I can just see it!


Need something like 5 more stars, I think...  

Meanwhile I'll just keep sewing away til I get the number of string blocks I need to make it happen!

Sew forth and sew on til then!

Monday, September 8, 2014

Two more stars

Three things to be happy about:
(1) new uses for old things
(2) fall catalogs arriving
(3) JoAnn's 50% off coupons

I made more string blocks for my stars, here's two more laid out on my design floor:

They play well together with the first block, don't they?  I'm thinking of separating them with neutral blocks rather than smack together, have to work on that because the blocks are set in a zig zag pattern.  Might be a bit tricky.

The phrase "balance the colors" flew through my mind for about 30 seconds... I think they'll pretty much balance themselves if I just put the blocks together!  I might want to avoid using yellow as the last piece on the points though, shows up as a light.


I'm scheduled for a colonoscopy tomorrow (Tuesday) so today is my prep day, yuck.  I'll have to keep busy so I won't think I'm hungry, just liquids all day doesn't sound too appetizing! Well maybe ... popsicles, jello, coffee, tea, Italian ices... I can swing it!

Have a great day, sew forth and sew on til later!

Friday, September 5, 2014

Stringing right along

Three things to be happy about:
(1) fresh batteries
(2) trolley tours
(3) learning through You tube


Isn't that a messy sewing space?

It's how I roll, it simply means I'm busy with my nose to the needle, my foot to the pedal!


I'm still working away on my string blocks; when I stopped to cut some of them out, I saw that I have more than enough of the dark blocks since each star only needs 4...


I have fewer of the all light and the light/dark mixture though.

So those are the ones I'll work on til I have enough for whatever size quilt I want to make!

Actually the GO die works really well for cutting these blocks - it's accurate and quick.  I can only do one at a time but it's still quicker than cutting with a ruler.


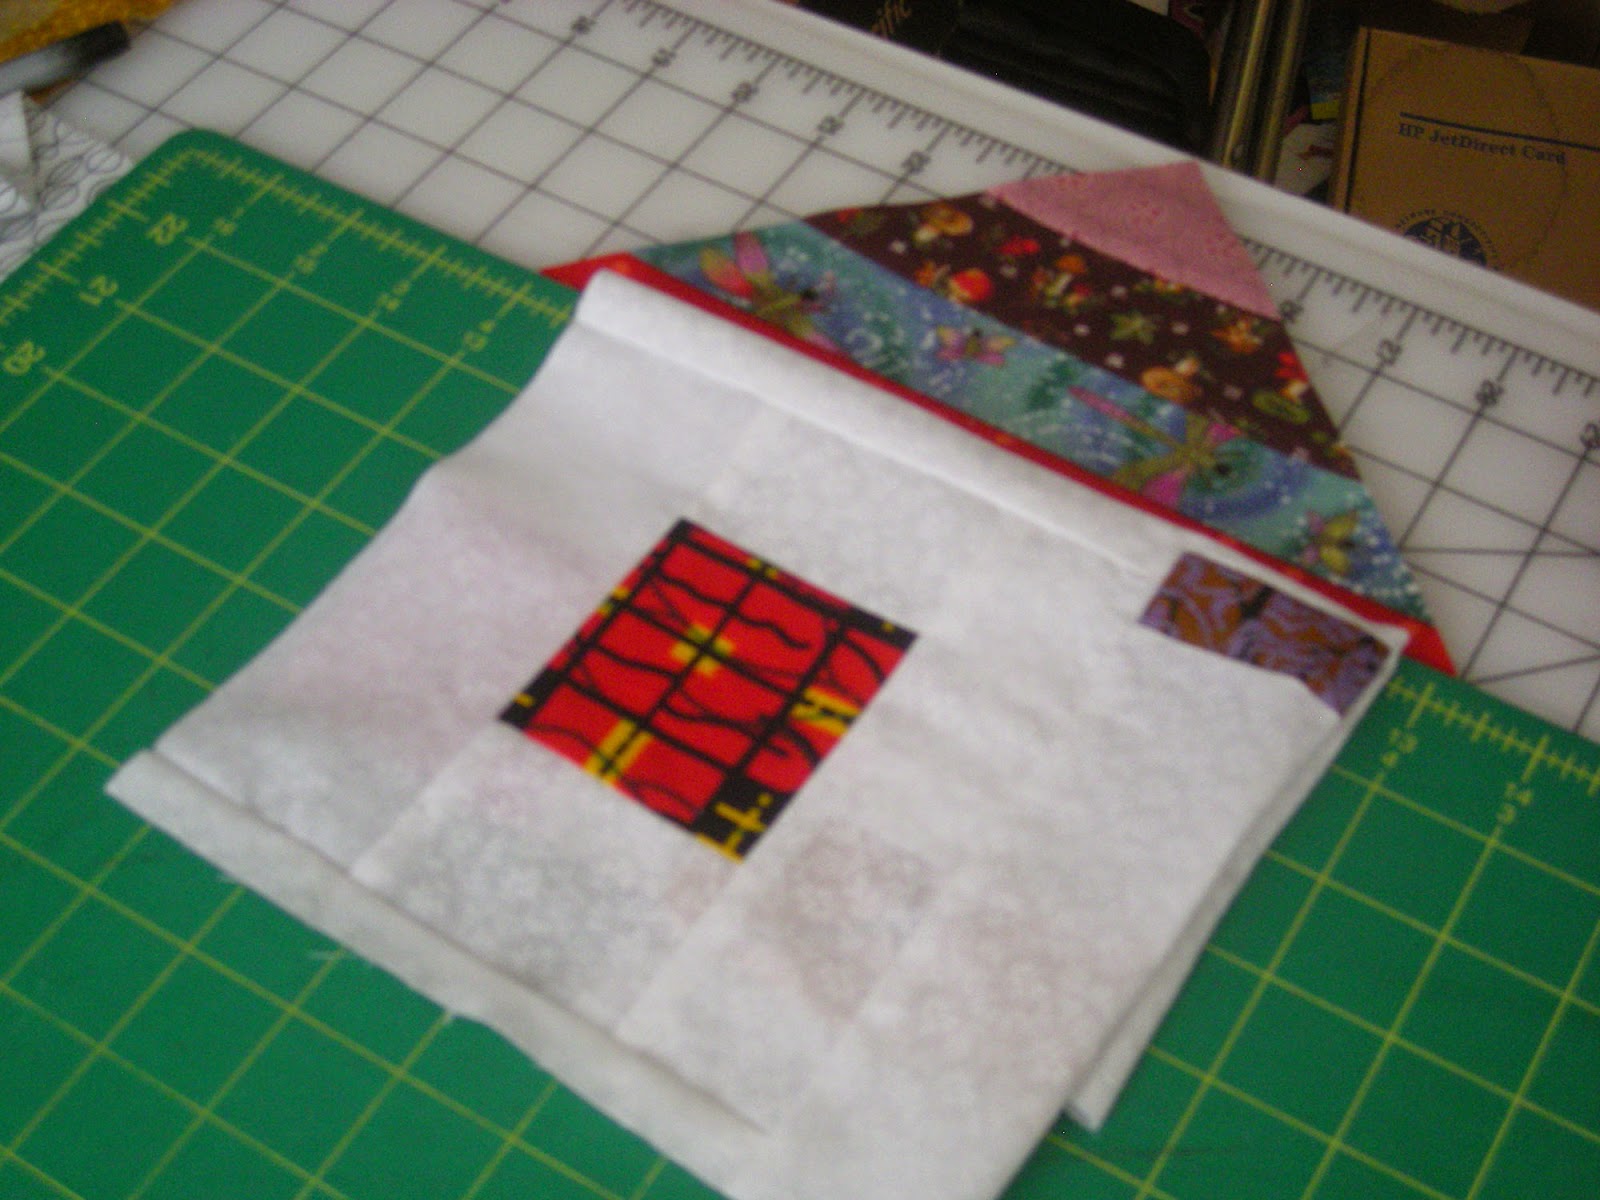
And as a bonus, I thought of a way to use more of that 6-1/2" size - slice a block across at the diagonal and you have an instant roof!

My goal here is to move as many of those strings and strips, as quickly as I can, and this will do it for me.


Meanwhile, I'll keep my nose to the needle in my messy work area til I know it's enough ...


Sew forth and sew on til later!

Tuesday, September 2, 2014

False starts, or quilt seeds?

Three things to be happy about:
(1) school buses in the morning
(2) the colors blue and yellow
(3) busboys and poets

I just discovered this channel, Centric, that's probably been there a long time, but I just discovered it!  Anyway, they were re-showing the mini-series Roots all day yesterday starting at 9:00 am, and I wanted to watch it all the way through.  I went out for a little while but I watched almost the entire series til they ended at midnight.  I actually met Alex Haley after the book but before the mini-series; I thought he was a very nice, personable man.


While working on my 6-1/2" string blocks the first idea I had didn't pan out as expected, but here's the process.

I cut two 1-1/2 x 6-1/2" and two 1-2/2 x 8-1/2" strips for the border.

My idea was to treat the string block as a log cabin style block.


Bordering the string block also stabilized the edges, so that was a win-win!

Except... I didn't like how it turned out.

I used 1" strips in scrappy colors and finished with a white and black outer border - nope!

I made a second block but this time I used black as the inner border...

blah!

The third time I went at it a bit differently!

I started with 1" strips for the inner border and used a range of 3/4", 1" and 1-1/4" strips for the surround.  Better than the other two, but no cigar!


I finished off with strips large enough to make a 16-1/2"(?) block.

 Can these blocks be saved???  I was bound and determined to use 6-1/2" string blocks for something, trying to stretch my stringy wings as it were...


I won't just toss these away, I've heard it that the quilt police roam up and down the alley behind quilters' homes and search their trash!

Can this be the start of a quilt?  Or are they better used as fodder for an art quilt?  Thinking, thinking...

While I'm thinking, sew forth and sew on!

Monday, September 1, 2014

Oh my, where has she been??

Lazy.  I've been just plain lazy  ;-o)

One day without blogging leads to another, leads to another, leads to another, til I was chastised by a couple of my friends!

SO...

Three things to be happy about:
(1) a glass of ice water
(2) shower-damp sin
(3) the smell of fresh sawdust

I've been piecing string blocks again!  This time I wanted to use the 6-1/2" square on my GO cutter just to do something different.  That is a very large size for strings, kinda awkward to use (ask me how I know!).

I had a few false starts (I'll show these later) on using that size square, then I saw a quilt on Pinterest that stirred my juices.  I want to give credit to the maker of that quilt which I found through a series of links, but I didn't write down the info.

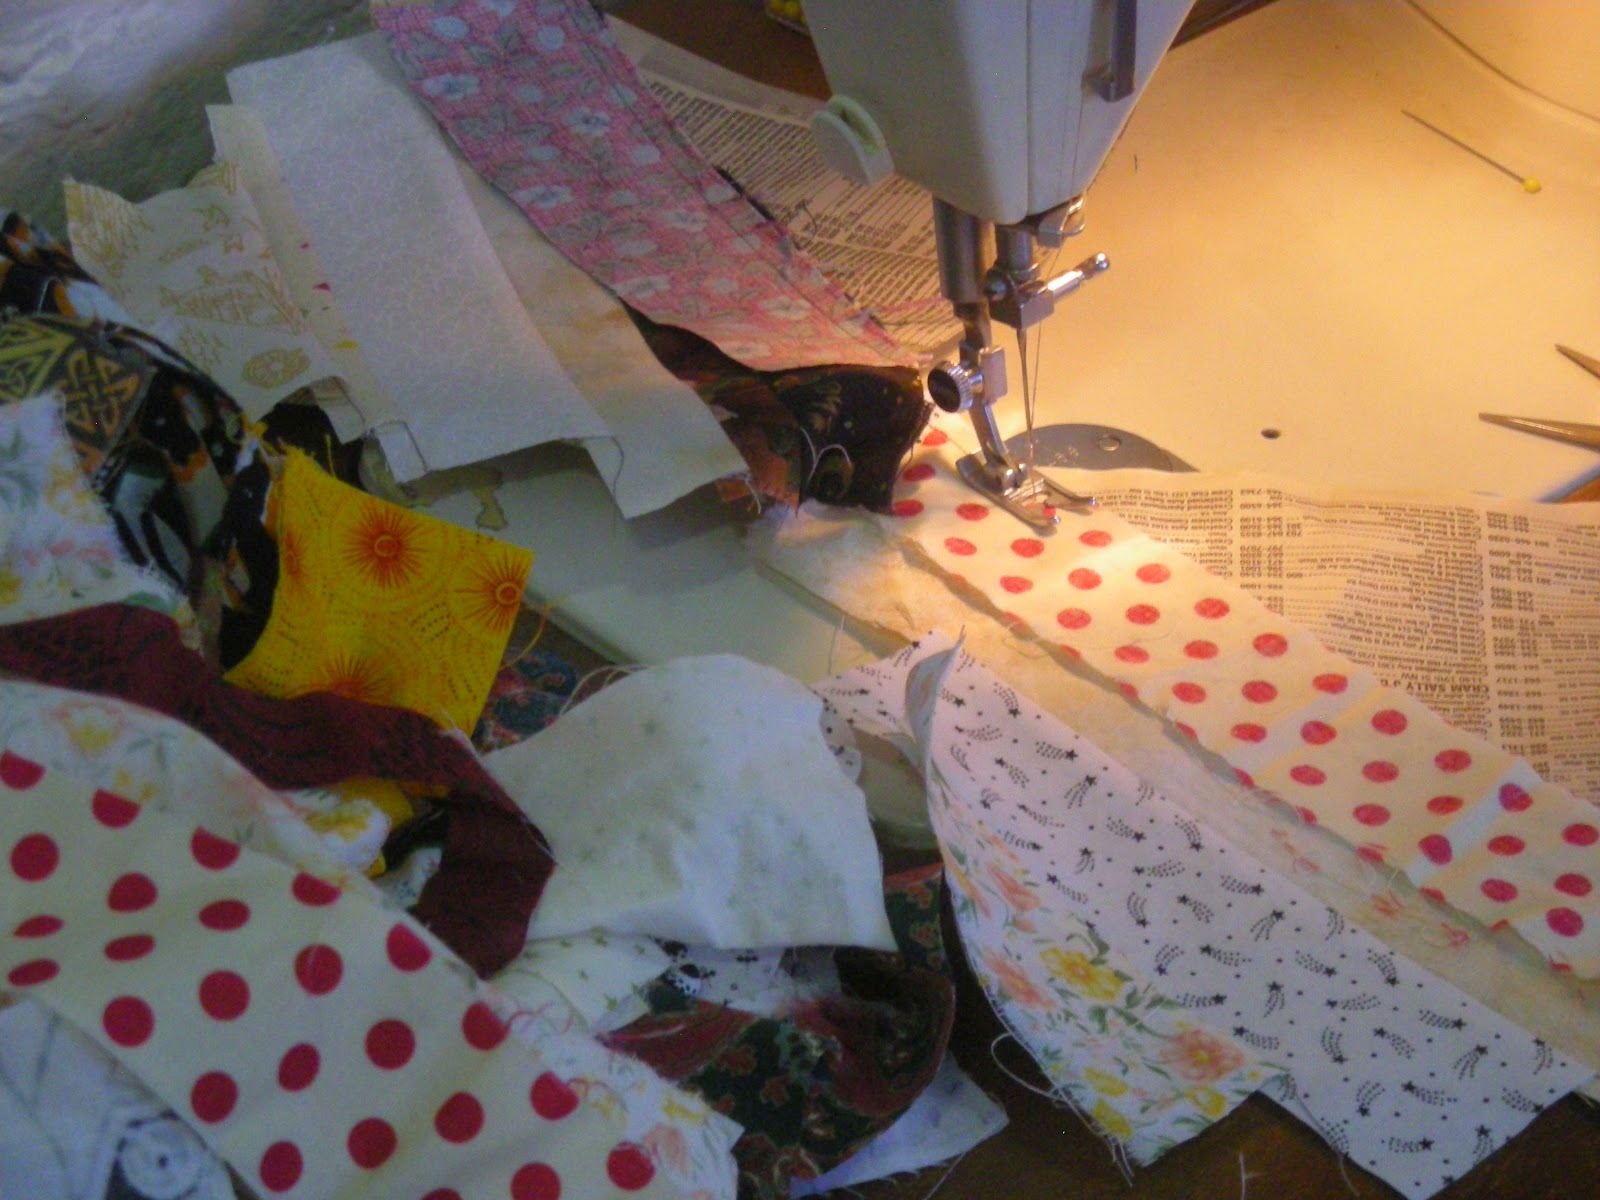
As usual I used the yellow pages for a foundation, cutting the papers at 7 inches because of the GO cutter.  For the one block I finished, I made 4 units with all darks (I know, there's a light strip in there!) 4 with neutrals and lights, and 8 with half dark and half neutral/lights.

I started building the block from the inside out, on my design wall ...


looking good!

When I got all the units in place I stitched them together in pairs, then rows.  I had to go slowly, those strings were stretchy stretchy!!

Finally, the finished block --
A very large Ohio star variation.

With the subunits being a 6 inch square, this block finished at a whopping 24 inches!

I like this stringy star, I'm thinking it won't take much effort to make a full sized quilt out of these because the blocks are so large...

I have an idea about the setting, I'll have to map it out and decide how many of these stars to make.

When I make my other blocks I'll remember to keep the string sizes down to less than two inches, and make sure the separation between dark and light is clearly defined in the star point units.

I'll share more later, sew forth and sew on til then!